Showing posts with label Recreation. Show all posts

Monday, 1 February 2016

No Smurfs were harmed in the making of this fabric...I promise!

It's taken me a while to get round to posting about this, but last week I had some great fun dyeing my corsetry satin from white to blue. I wanted something a little more fancy for my 1880s corset and, after looking at various originals for inspiration, I settled on mid blue.


Rather than buy a blue satin, I decided to use Vena Cava's cotton backed corsetry satin for strength and durability. However, as this only comes in a very limited colour range (black, white, pink and red) I knew I would have to experiment with dyes for the first time. Vena Cava's website said that the white satin dyes particularly well using Dylon so I did a little bit of research.

At first I intended to use the machine wash as this seemed the simplest option but, having read a few reviews, I wasn't convinced about the well-being of my washing machine (and when I say "mine", it isn't actually mine which meant that I was even more cautious about permanently staining the rubber seals or somebody else's washing). I therefore bought a packet of the Dylon hand wash powder in Ocean blue, the closest shade to the one I had envisaged for my corset.

The Dylon "Ocean Blue" dye and the white satin - BEFORE


Armed with a large plastic box, a stirring stick borrowed from some garden supplies, some salt and a pair of rubber gloves I was ready to begin. I pre-washed the satin in the machine, partly because the instructions directed me to wash the fabric first but also to pre-shrink it just in case. I then prepared the dye bath with the dye, warm water and salt, as per the instructions. This was really straightforward, although I was perturbed at first to see the dye, which initially turned from greyish-white to dark blue when the water was added, deepen to an intense shade of purple. Purple - definitely not blue! I thought, however, that perhaps it needed to be darker as not all of the colour would be absorbed so went ahead.


It took a while though before I was convinced that I was going to end up with blue fabric. When I first immersed the fabric, it sucked up the dye and turned an insipid shade of lilac! I spent the first half hour of stirring trying to tell myself that perhaps a purple corset wouldn't be so bad.

Uh oh - pale purple fabric!

 But, miraculously, as I stirred and stirred for the next hour or so the fabric became darker and darker purple and then, slowly, began to turn blue. Having studied textile histories I do have a basic understanding of dyeing processes, but actually watching it was rather like magic and how it went from a deep purple to bright blue remains a mystery. When is was time to remove the fabric from the bath it was a very bright shade of royal blue - not quite what the shade on the packet but OK and I suspected some of the colour would come back out in the rinsing.


The light is not particularly good in this picture, but the blue was very bright
Next came the hard work - it took absolutely ages of rinsing and wringing until the water began to run clear and even more colour came out when I washed the fabric in warm water. But eventually it was thoroughly washed and rinsed and ready to dry naturally. At this stage, it was still quite a bright blue and I left it to dry overnight. When I woke up in the morning, the first thing I did was to check the fabric and was surprised to discover that it had dried to a deepish shade of cornflower blue, nearly identical to the colour spot on the packaging!

The dried fabric - AFTER

I rinsed the fabric again in the machine for good measure to make sure any remaining dye was removed and then dried it and pressed it and pressed it and pressed it to get rid of all the creases from the washing, stirring and wringing! This was probably the one down side of this method. It wouldn't be great for delicate fabrics and it took a long time to de-crease. Having said that, having a steam generator iron really helped.

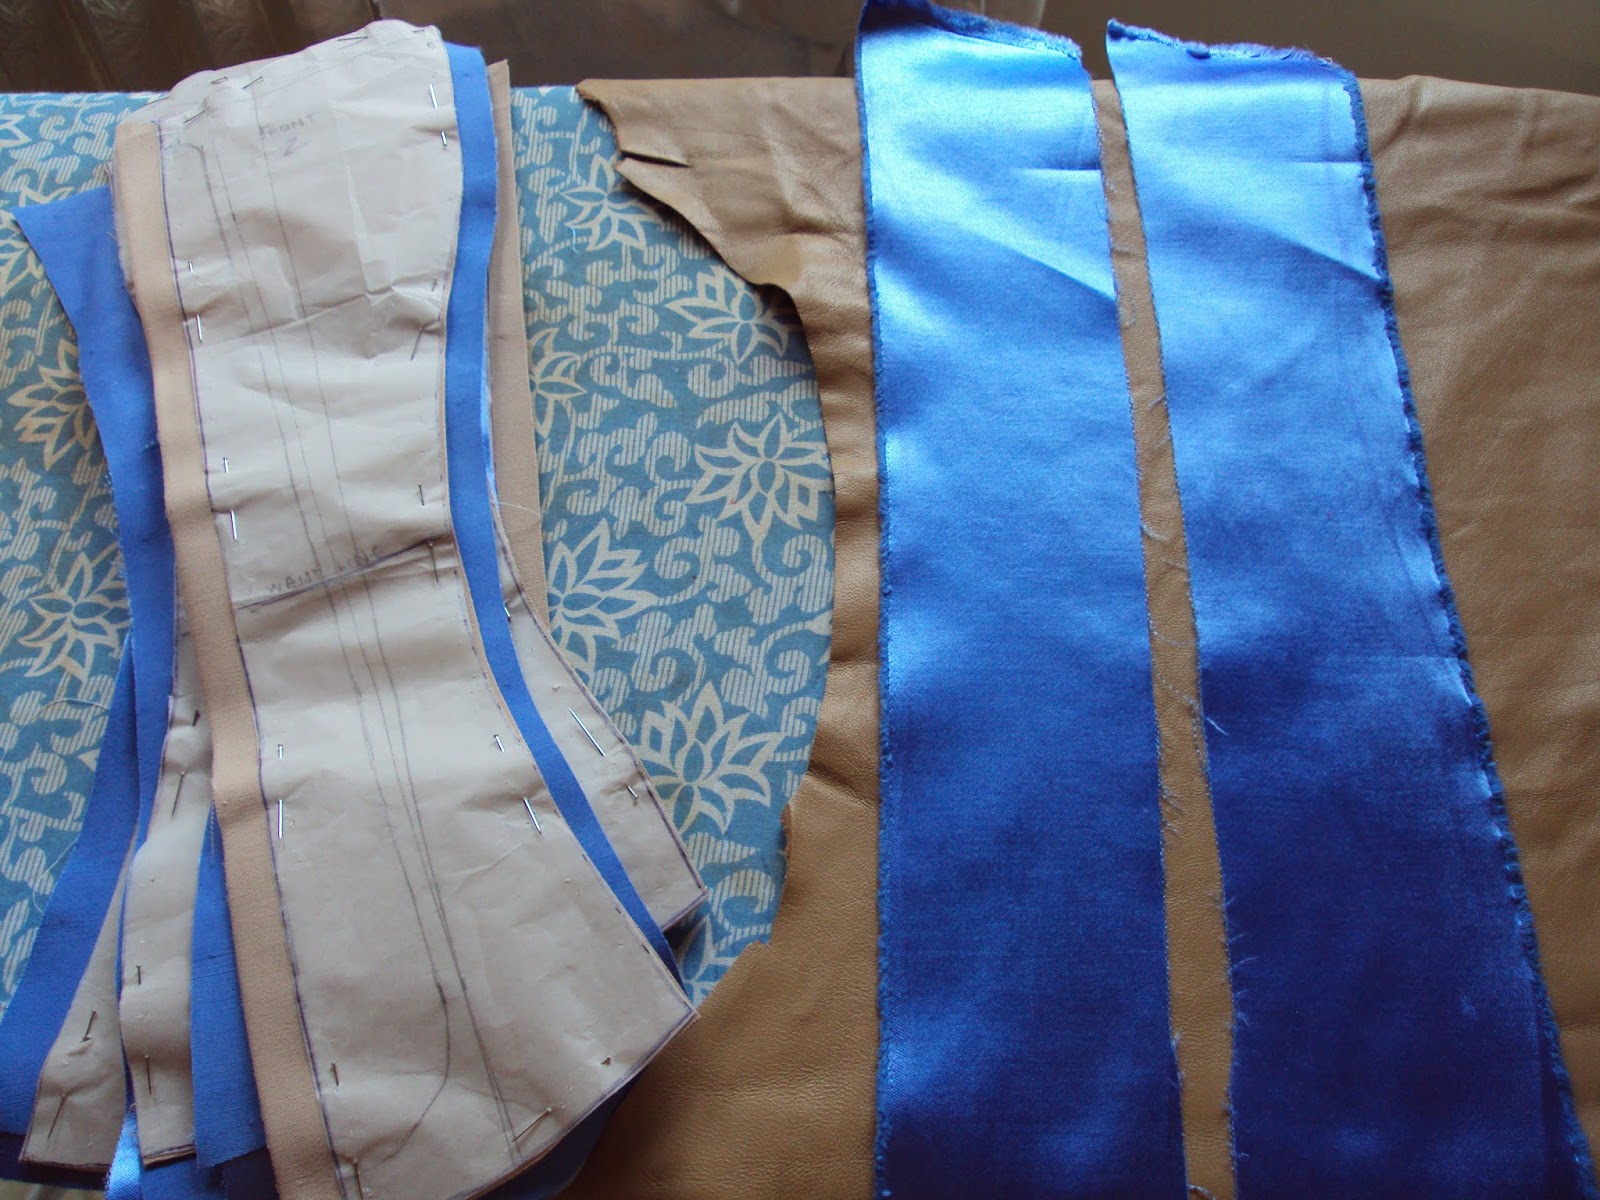
Despite all of the elbow grease required, the end result was very satisfactory. I now have all of my pieces cut out and ready to go, silky smooth and exactly the shade I imagined them. Hooray for Dylon! And although they definitely weren't around in 1880, I can't help thinking that my corset is going to be a beautiful shade of Smurf-blue!


And, just to finish, here are some sneaky peeks of my experiments with the leather and some lace to get an idea of what the finished piece will look like...


In my next corset post I will share the mock-ups of the corset and what I did to adapt the pattern to fit. And hopefully this week I will actually be able to start constructing the corset now that my spoon busk has arrived. All will depend on how my experiments with sewing the leather go...Any tips much appreciated.

Thursday, 22 October 2015

Photographic Inspiration - An Empress Sissi winter ensemble

When I started this blog, I rather optimistically planned to have all of my completed costumes uploaded within weeks. But life never turns out quite the way you plan and I am now at least a year behind my original schedule!

So, with the nights drawing in and a definite chill in the air, I decided that it was more than time that I shared one of my favourite projects: a winter dress inspired by a photograph of the Empress Sissi of Austria .

Empress Elisabeth - 1865
Ever since I watched the "Sissi" films with Romy Schneider, I have been fascinated with Sissi and especially with her wonderful clothes. There are some truly wonderful portraits of her, but I especially like the photographs as they have a sense of reality that the paintings never quite capture.

When I came across this photograph I was looking for inspiration for a winter ensemble that I could wear for a Victorian Christmas event held in the historic dockyards in Portsmouth. The theme is usually a Dickensian one and so I knew I wanted a crinoline but, with only a few weeks to make the costume, I initially had in mind something simple that could be finished quickly.

However, once I came across this photograph, nothing else would do. So what if was going to take hours to apply the fur trim and the braiding?!


The first thing I did was to try imagine the colour. At first I thought dark green would look good but when I got to the fabric store I didn't like the shades of green and chose a deep burgundy wine red instead. By chance I already had some braiding that was suitable for the front and I sourced some beautiful military brass buttons.

The only barrier remaining was the fur trim... I had chosen a cotton velvet to stay as authentic as possible and wanted to avoid synthetic fur at all costs. However, I knew that I would not be able to afford or easily find pelts so I began look for vintage fur coats that could be salvaged for their parts. I didn't have much luck to be begin with but then I came across a 1950s beaver lamb coat at a vintage fair. At first it wasn't really intended to be cut up - I quite fancied wearing it with some of my 1950s dresses. But after wearing it once or twice I discovered that it was so heavy that I always got backache and there aren't really that many occasions for wearing a fur coat in the UK, especially as I was living in the south of England at the time where it doesn't really get cold enough. And I had after all only paid £10 for the coat...


The coat was therefore sacrificed and in a short but moving ceremony made considerably shorter by cutting strips from the bottom. In the meantime, I started my costume with a simple 1860s bodice that could be worn underneath the paletot. This was inspired by another photograph of Sissi, possibly from the same photography session in which she appears to be wearing the same skirt.

I used Truly Victorian's darted bodice pattern (TV446) and made up in the same burgundy cotton that I bought to line the paletot. The buttons were self cover buttons made up with the paletot velvet and I used some lace that I tatted myself for the collar.

Truly Victorian Darted Bodice Pattern - TV446 (from https://www.trulyvictorian.net/tvxcart/product.php?productid=16)


The tatting - after a few experiments, this was my first full size piece of tatting

Then it was on to the pleating of the skirt. I used Truly Victorian's method which involves pinning the fabric to a waistband on the mannequin and constantly dividing the excess fabric in half until the pleats are small enough to be pinned to the waistband.  I will save the details for another post but it is a great method if you are not working to a pattern and simply have one long tube of material to pleat up. And although it may be time consuming and somewhat dangerous if you consider the number of pins sticking out of the waistband when you take it off of the mannequin, it is simple and effective.

The pleats all ready to be tacked

Finally, the best part of the project...the paletot. For this, I used Past Impressions Pattern 419: 1860's Paletot Overcoat and adapted the sleevs to make them narrower at the wrist.

The paletot was made of the same burgundy velvet as the skirt and lined with the burgundy cotton. I took the collar from the original coat and applied this to the neck of the paletot and applied strips of the fur to the cuffs and hem. And this was the finished result with the gold braid and buttons:


I had great fun wearing this costume at The Portsmouth Festival of Christmas and even made the local news on my Dad's arm. I also proved that a crinoline doesn't stop you from climbing on and off of ships (although I gave climbing through a hatch to get onto the Victory a miss) and riding a small horse but didn't go quite as far a trying to ride a bicycle!!


I wore the ensemble with a matching fur hat that I made specially from scraps of the fur coat. This was made using an original Victorian pattern produced by Ageless Patterns.

Ageless Patterns #1580 1868 Ladies Fur Cap - FIND THIS PATTERN HERE
My version of the cap being modelled by my oil lamp!
And, of course, there was the underwear. As this event was in December I knew it was going to be cold so I opted for an authentic Victorian solution: cosy red flannel. I made up drawers and a chemise and was very glad I did. It was like wearing my favourite pyjamas under my costume and I was warm and toasty all day, even though the weather was very icy and the event finished after dark.


Luckily the Empress did not attend the event, thus avoiding any "she's wearing my dress" embarrassment!!