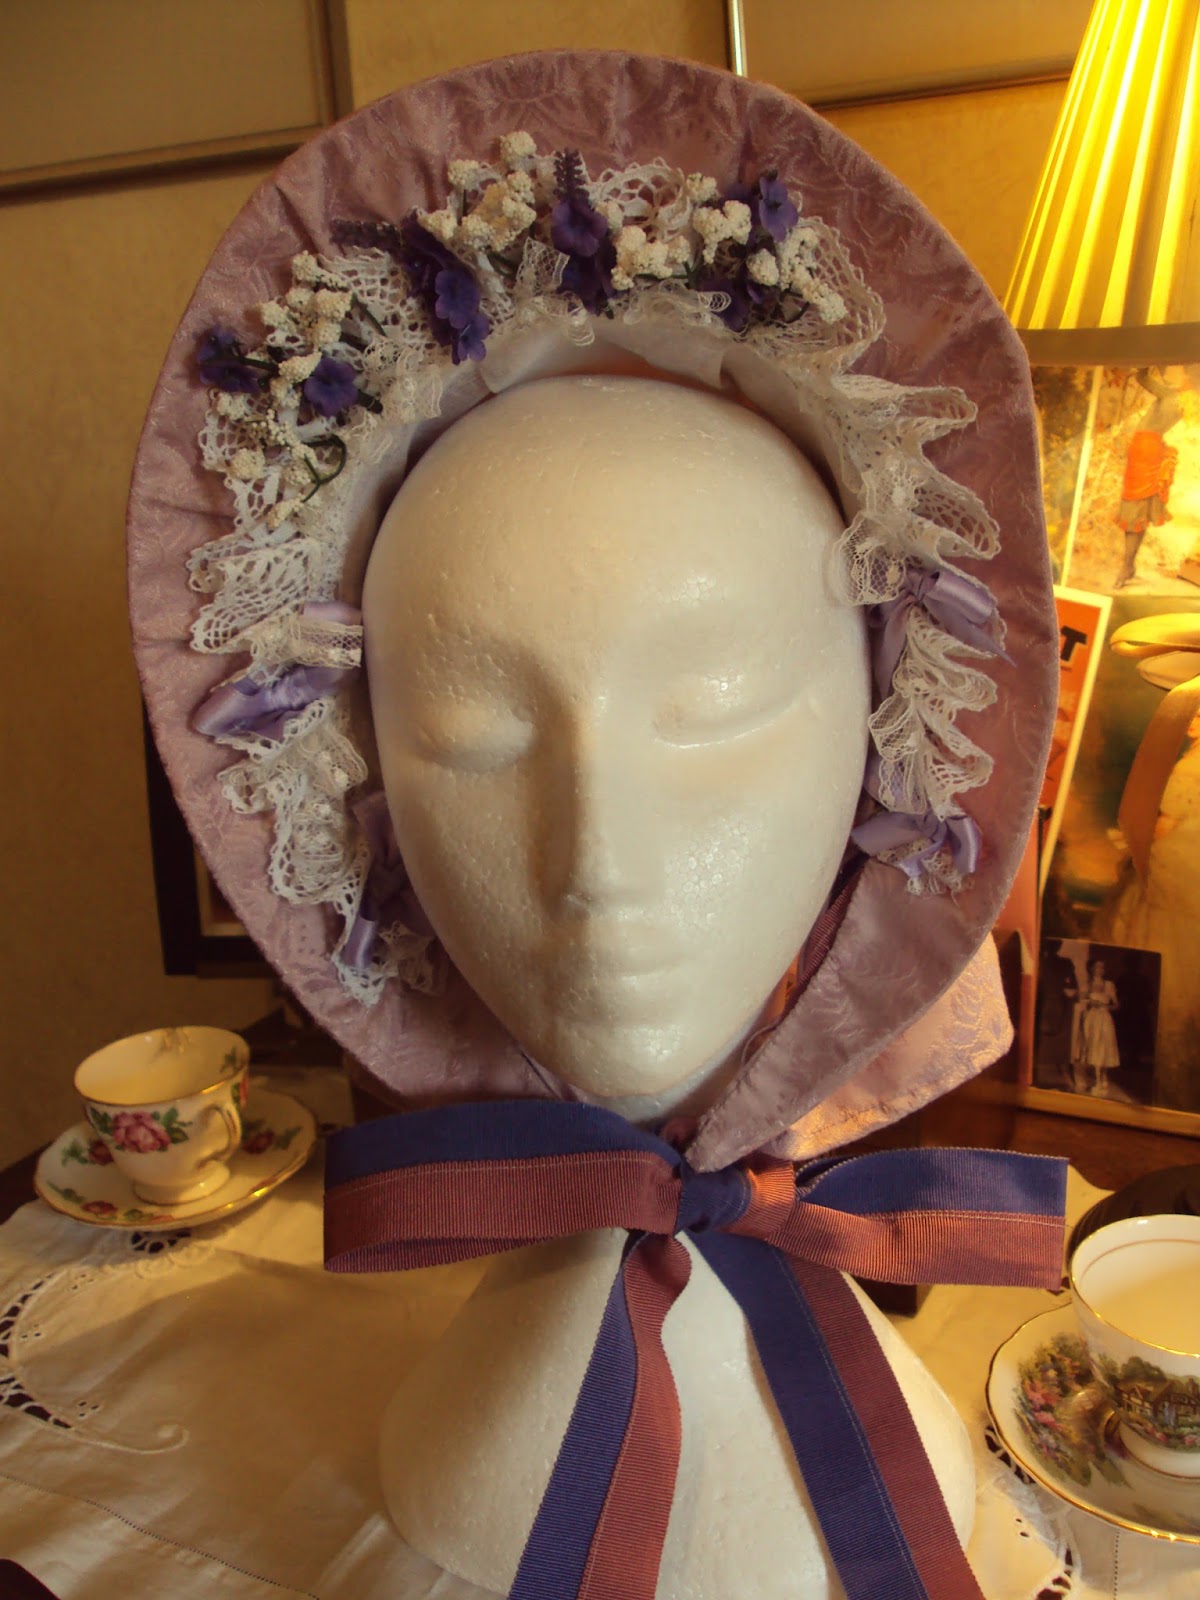
My New Year got off to an excellent start when I logged into my blog a couple of days ago and discovered, much to my excitement, that I had been nominated for the Liebster Award by Hannah S at Fact and Fiction.
This was such a nice surprise and it is so rewarding to know that people are actually seeing and appreciating my costumes, especially as it was reading blogs like The Fashionable Past that really inspired me to begin sewing historical clothing and sharing my efforts online. So a huge thankyou to Hannah and everyone else who reads my blog as well as to all the bloggers that I follow for sharing your inspirational work and making me so envious that I just had to join in!
To borrow from Hannah's page, the award rules are as follows:
1. Acknowledge the blog that nominated you.
2. Answer the questions the nominating blogger asked.
3. List 11 bloggers with less than 200 followers that deserve some recognition.
4. Write 11 questions for them to answer.
5. Notify them that they have been nominated.
However, I will save this for a future post as I would like to sit down and answer the questions properly and I will also need a little time to make my own eleven nominations...
To return to the subject of the New Year then, I am very pleased to announce that I have been sticking to my New Year's resolution to sew more, to sew more often, to sew faster etc. etc. and to complete all of the Historical Sew Monthly challenges with my first creation of the year: an 1840s bonnet.
The theme for January is procrastination, something which, as it happens, I have a particular talent for. I therefore had no shortage of options when it came to selecting a project for this category. In fact, I have decided that, in the spirit of New Year's resolutions and the light of my decided failure to complete last year's challenges, I will make the most of this opportunity to complete as many of my unfinished (and in some cases unstarted) projects this month. And seeing as it's only the 6th of the month and the first one is finished I don't think I'm doing too badly!
An 1840s moiré silk bonnet
The item I chose to start with was a bonnet that I have been promising to make for my Mum for ages. We must have had the pattern for at least three years but somehow I never got round to starting the project. Having made some bonnets at the end of last year, however, I decided that the time had come to finally make this one.
The Challenge: Procrastination - this project qualifies by a mile for this challenge - not only has this project been put off for several years, I also originally intended to have it completed as a Christmas present but ran out of time
Material: The foundation of the bonnet is made from buckram and millinery wire. I covered this with a layer of cotton sheeting (from an old sheet) to pad the form and the outer material is moiré effect curtain fabric in a deep oyster cream colour. I am not sure of the fibre content as this was an old fabric remnant given to me by a friend but we think it contains some silk and it looks pretty close to the real thing. The inside of the bonnet is lined with a fine, cream silk satin.
Pattern: The pattern is Timely Tresses "Lavinia Ruth" and I used the 1840s version of the pattern. I have really enjoyed using Timely Tresses patterns to learn about the techniques for constructing bonnets and am looking forward to using the knowledge that I have gained, along with the experience I gained examining extant bonnets first hand for my Masters dissertation, to begin developing my own patterns for bonnets of different shapes and sizes.
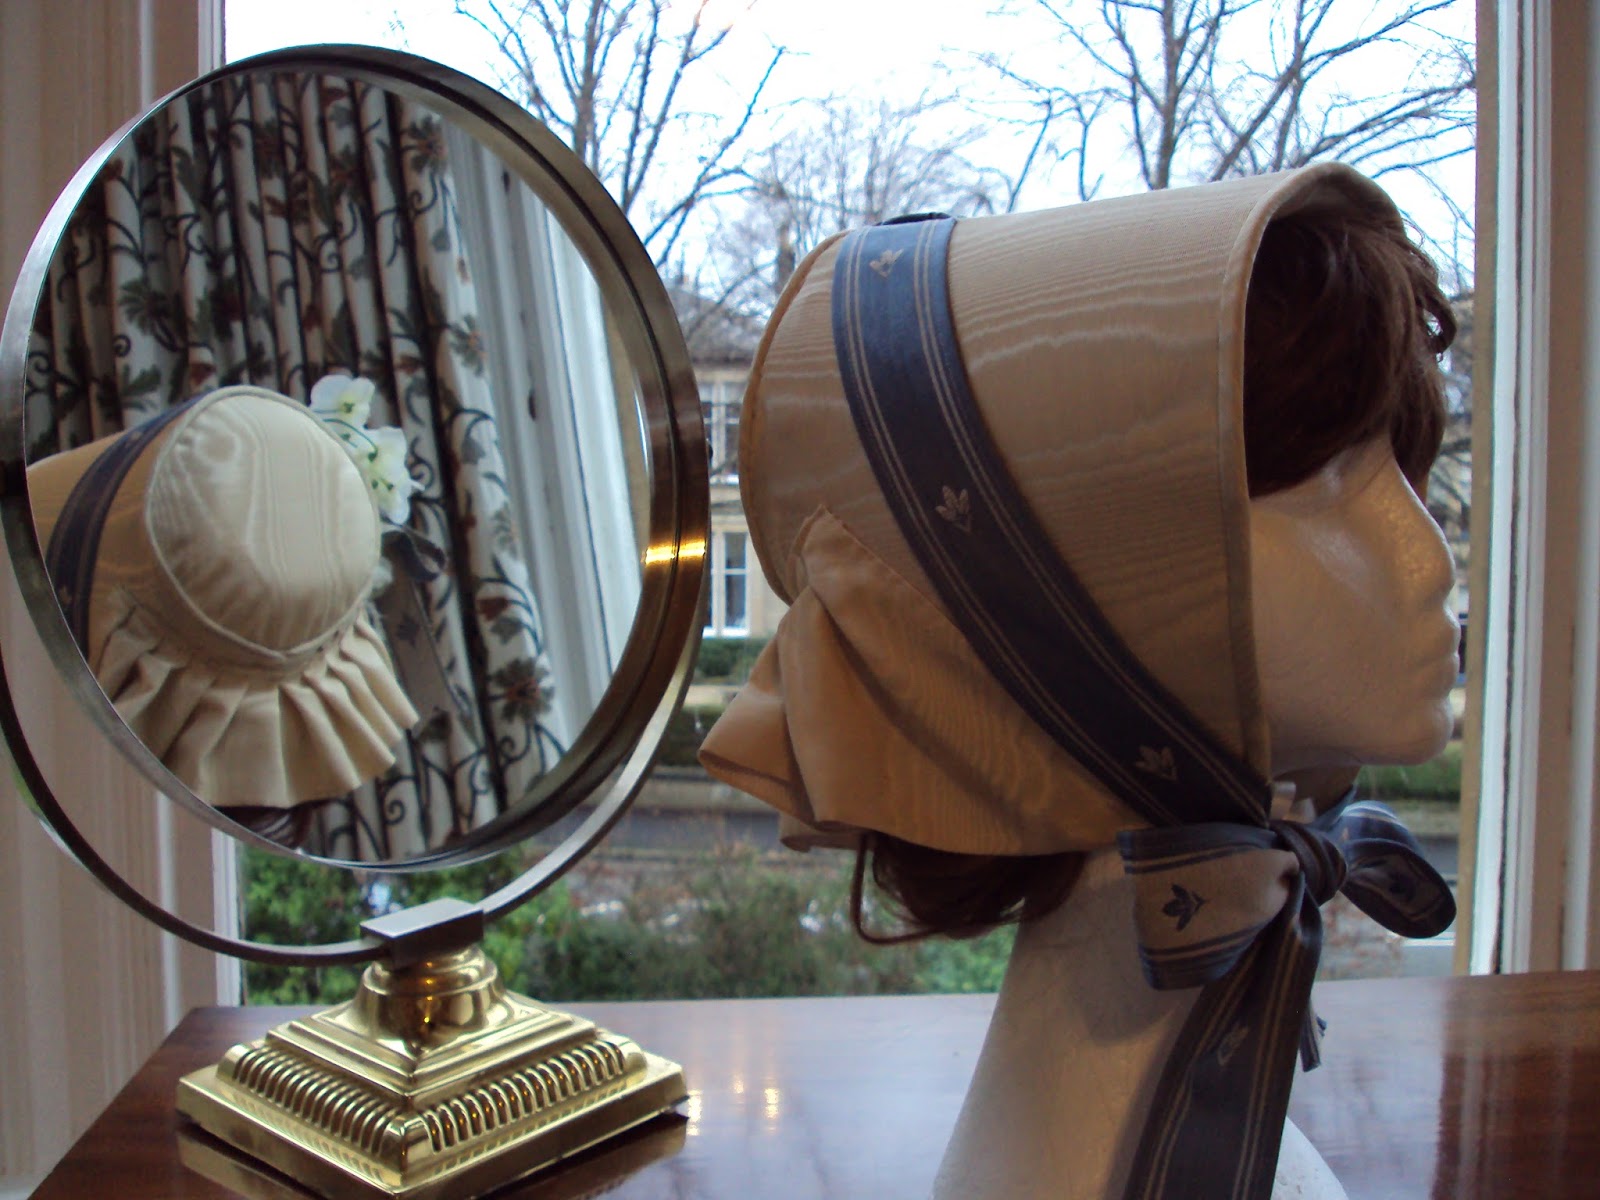
Year: late 1840s - although the shape of this bonnet is very typical of the 1840s, it's smaller size which reveals the profile of the face is already hinting at the later styles of the 1850s.
Notions: To decorate the bonnet I used a long strip of curtaining fabric (left over from a traditional 1950s style men's dressing gown that my Mum made for my brother) to make the ties. I wanted to use the striped pattern and the woven design to create the ribbons as the pattern reminded me of some of the extant ribbons that I saw during my research and it is really difficult to source ribbons that are anything like the ones available in the 19th century. Furthermore, on the extant bonnets that I had the good fortune to be able to study up close, a fair number had ribbons that were made from hemmed silk so I was happy with this being an authentic period approach. I also used some artificial flowers from my stash (unfortunately plastic - I have secret plans to begin making flowers myself that are more authentic...watch this space!) and a small amount of narrow satin ribbon for the secondary utility ties and gathering the lining into the back of the tip. Oh, and thread of course!
How historically accurate is it? With the exception of flowers and the uncertain fibre content of the fabric, almost 100%. I sewed the bonnet entirely by hand and all of the construction techniques were based on the well-researched instructions provided with the pattern and my own observations of original bonnets. The decoration was also inspired by my research which involved looking at original bonnet and ribbons and their representation in fashion plates. I tried to get as authentic a look as I could and was only held back by the modernity of some of my materials. I am quite confident that an 1840s lady would know exactly what she was looking at though so I am happy to settle at 85%. (If only the flowers did not have plastic stems - grrrrr!)
Hours to complete: Approximately 16 - this seems to be my average time for a bonnet, until I set a new record.
First worn: I tried the bonnet on several times throughout the making process to make sure that everything was level, in the right place, the right size etc. but this bonnet is for my Mum so it's first outing will probably be in the summer as the colours were chosen to coordinate with a summer dress.
Total cost: We originally paid about $35 for the kit to make this bonnet. This included the pattern though and over three kits I have been able to save a fair amount of buckram and wire that I have used in other projects. The cost of the foundation materials was therefore probably around $20 but it was paid so long ago that they probably qualify as stash materials. Everything else I used was also from my stash. So either £0 or $20 if you consider the fact that the buckram etc. wasn't left over but used for the purpose it was bought for.
And now it's onwards to the next project but first I have to decide whether that's going to be an 1880s corset to replace my 1850s-does-everything-1850-1950-straight-seamed-now-too-large-corset or the girl's 1860s ensemble (including underwear) that I have been planning for my shop. It all depends on whether my parcel of corset fabric and other goodies arrives in the post tomorrow...
Showing posts with label Headwear. Show all posts
Wednesday, 6 January 2016
Thursday, 22 October 2015
Photographic Inspiration - An Empress Sissi winter ensemble
When I started this blog, I rather optimistically planned to have all of my completed costumes uploaded within weeks. But life never turns out quite the way you plan and I am now at least a year behind my original schedule!
So, with the nights drawing in and a definite chill in the air, I decided that it was more than time that I shared one of my favourite projects: a winter dress inspired by a photograph of the Empress Sissi of Austria .
Ever since I watched the "Sissi" films with Romy Schneider, I have been fascinated with Sissi and especially with her wonderful clothes. There are some truly wonderful portraits of her, but I especially like the photographs as they have a sense of reality that the paintings never quite capture.
When I came across this photograph I was looking for inspiration for a winter ensemble that I could wear for a Victorian Christmas event held in the historic dockyards in Portsmouth. The theme is usually a Dickensian one and so I knew I wanted a crinoline but, with only a few weeks to make the costume, I initially had in mind something simple that could be finished quickly.
However, once I came across this photograph, nothing else would do. So what if was going to take hours to apply the fur trim and the braiding?!
The first thing I did was to try imagine the colour. At first I thought dark green would look good but when I got to the fabric store I didn't like the shades of green and chose a deep burgundy wine red instead. By chance I already had some braiding that was suitable for the front and I sourced some beautiful military brass buttons.
The only barrier remaining was the fur trim... I had chosen a cotton velvet to stay as authentic as possible and wanted to avoid synthetic fur at all costs. However, I knew that I would not be able to afford or easily find pelts so I began look for vintage fur coats that could be salvaged for their parts. I didn't have much luck to be begin with but then I came across a 1950s beaver lamb coat at a vintage fair. At first it wasn't really intended to be cut up - I quite fancied wearing it with some of my 1950s dresses. But after wearing it once or twice I discovered that it was so heavy that I always got backache and there aren't really that many occasions for wearing a fur coat in the UK, especially as I was living in the south of England at the time where it doesn't really get cold enough. And I had after all only paid £10 for the coat...
The coat was therefore sacrificed and in a short but moving ceremony made considerably shorter by cutting strips from the bottom. In the meantime, I started my costume with a simple 1860s bodice that could be worn underneath the paletot. This was inspired by another photograph of Sissi, possibly from the same photography session in which she appears to be wearing the same skirt.
I used Truly Victorian's darted bodice pattern (TV446) and made up in the same burgundy cotton that I bought to line the paletot. The buttons were self cover buttons made up with the paletot velvet and I used some lace that I tatted myself for the collar.
Then it was on to the pleating of the skirt. I used Truly Victorian's method which involves pinning the fabric to a waistband on the mannequin and constantly dividing the excess fabric in half until the pleats are small enough to be pinned to the waistband. I will save the details for another post but it is a great method if you are not working to a pattern and simply have one long tube of material to pleat up. And although it may be time consuming and somewhat dangerous if you consider the number of pins sticking out of the waistband when you take it off of the mannequin, it is simple and effective.
Finally, the best part of the project...the paletot. For this, I used Past Impressions Pattern 419: 1860's Paletot Overcoat and adapted the sleevs to make them narrower at the wrist.
The paletot was made of the same burgundy velvet as the skirt and lined with the burgundy cotton. I took the collar from the original coat and applied this to the neck of the paletot and applied strips of the fur to the cuffs and hem. And this was the finished result with the gold braid and buttons:
I had great fun wearing this costume at The Portsmouth Festival of Christmas and even made the local news on my Dad's arm. I also proved that a crinoline doesn't stop you from climbing on and off of ships (although I gave climbing through a hatch to get onto the Victory a miss) and riding a small horse but didn't go quite as far a trying to ride a bicycle!!
I wore the ensemble with a matching fur hat that I made specially from scraps of the fur coat. This was made using an original Victorian pattern produced by Ageless Patterns.
And, of course, there was the underwear. As this event was in December I knew it was going to be cold so I opted for an authentic Victorian solution: cosy red flannel. I made up drawers and a chemise and was very glad I did. It was like wearing my favourite pyjamas under my costume and I was warm and toasty all day, even though the weather was very icy and the event finished after dark.
So, with the nights drawing in and a definite chill in the air, I decided that it was more than time that I shared one of my favourite projects: a winter dress inspired by a photograph of the Empress Sissi of Austria .
![]() |
| Empress Elisabeth - 1865 |
When I came across this photograph I was looking for inspiration for a winter ensemble that I could wear for a Victorian Christmas event held in the historic dockyards in Portsmouth. The theme is usually a Dickensian one and so I knew I wanted a crinoline but, with only a few weeks to make the costume, I initially had in mind something simple that could be finished quickly.
However, once I came across this photograph, nothing else would do. So what if was going to take hours to apply the fur trim and the braiding?!
The first thing I did was to try imagine the colour. At first I thought dark green would look good but when I got to the fabric store I didn't like the shades of green and chose a deep burgundy wine red instead. By chance I already had some braiding that was suitable for the front and I sourced some beautiful military brass buttons.
The only barrier remaining was the fur trim... I had chosen a cotton velvet to stay as authentic as possible and wanted to avoid synthetic fur at all costs. However, I knew that I would not be able to afford or easily find pelts so I began look for vintage fur coats that could be salvaged for their parts. I didn't have much luck to be begin with but then I came across a 1950s beaver lamb coat at a vintage fair. At first it wasn't really intended to be cut up - I quite fancied wearing it with some of my 1950s dresses. But after wearing it once or twice I discovered that it was so heavy that I always got backache and there aren't really that many occasions for wearing a fur coat in the UK, especially as I was living in the south of England at the time where it doesn't really get cold enough. And I had after all only paid £10 for the coat...
The coat was therefore sacrificed and in a short but moving ceremony made considerably shorter by cutting strips from the bottom. In the meantime, I started my costume with a simple 1860s bodice that could be worn underneath the paletot. This was inspired by another photograph of Sissi, possibly from the same photography session in which she appears to be wearing the same skirt.
I used Truly Victorian's darted bodice pattern (TV446) and made up in the same burgundy cotton that I bought to line the paletot. The buttons were self cover buttons made up with the paletot velvet and I used some lace that I tatted myself for the collar.
![]() | |||||
| Truly Victorian Darted Bodice Pattern - TV446 (from https://www.trulyvictorian.net/tvxcart/product.php?productid=16) |
| The tatting - after a few experiments, this was my first full size piece of tatting |
Then it was on to the pleating of the skirt. I used Truly Victorian's method which involves pinning the fabric to a waistband on the mannequin and constantly dividing the excess fabric in half until the pleats are small enough to be pinned to the waistband. I will save the details for another post but it is a great method if you are not working to a pattern and simply have one long tube of material to pleat up. And although it may be time consuming and somewhat dangerous if you consider the number of pins sticking out of the waistband when you take it off of the mannequin, it is simple and effective.
| The pleats all ready to be tacked |
Finally, the best part of the project...the paletot. For this, I used Past Impressions Pattern 419: 1860's Paletot Overcoat and adapted the sleevs to make them narrower at the wrist.
The paletot was made of the same burgundy velvet as the skirt and lined with the burgundy cotton. I took the collar from the original coat and applied this to the neck of the paletot and applied strips of the fur to the cuffs and hem. And this was the finished result with the gold braid and buttons:
I had great fun wearing this costume at The Portsmouth Festival of Christmas and even made the local news on my Dad's arm. I also proved that a crinoline doesn't stop you from climbing on and off of ships (although I gave climbing through a hatch to get onto the Victory a miss) and riding a small horse but didn't go quite as far a trying to ride a bicycle!!
I wore the ensemble with a matching fur hat that I made specially from scraps of the fur coat. This was made using an original Victorian pattern produced by Ageless Patterns.
| Ageless Patterns #1580 1868 Ladies Fur Cap - FIND THIS PATTERN HERE |
| My version of the cap being modelled by my oil lamp! |
![]() |
| Luckily the Empress did not attend the event, thus avoiding any "she's wearing my dress" embarrassment!! |
Saturday, 3 October 2015
Historical Sew Monthly: June and July: A new accessory...
My new bonnet seemed like the perfect entry for June and July's challenges: "Out of your comfort zone" and "Accessorize". The bonnet was one of the most indispensable of all Victorian accessories and this was my first foray into the fascinating and rewarding world of historical millinery.
The Challenge:
June - Out-of-your-comfort-zone
July - Accessorise
And technically this also qualifies for March's stash-busting challenge as I was so eager to get started with this project that I deliberately planned to use only materials that I already had to hand without ordering anything new.
Fabric:
The fabric is a synthetic curtaining fabric that has a very nice finish that looks the part without costing the earth. It is a light fabric and nice to handle and sits well.
Pattern:
I used Timely Tresses "Eliza Coretta" pattern to create this bonnet.
Year:
1860-1862
Notions:
Millinery seems to involve a whole host of bits and pieces:
For the structure of the bonnet I used buckram for the headpiece and tip and millinery wire covered in net to form the brim.
The decorations consist of ruffled synthetic white lace; artificial flowers (fabric and plastic); small satin ribbon bows; and gros-grain ribbon ties formed from two pieces of antique ribbon in different shades.
How historically accurate is it?
The shape and style of the bonnet are very accurate for this period. Timely Tresses' patterns are very well-researched and based on extant bonnets. The decoration is also based on my own research into original bonnets and closely follows the tastes and trends of the period and the construction techniques are authentic. With the exception of the bavolet (curtain) hem, the whole bonnet is hand sewn. However, the majority of the materials are modern substitutes. The gros-grain ties are nineteenth-century antique ribbons but the main bonnet fabric and decorations are made of synthetic materials chosen with an eye to achieving as authentic a look as possible with available materials and without breaking the bank!
Hours to complete:
Approximately sixteen hours in total spread over three days.
First worn:
I wore the bonnet briefly to try the overall effect in the mirror but I will be selling the bonnet. When I started out, I had originally intended to wear this bonnet with my 1850s walking dress which is made in the same material. However, I got a little carried away combining lace and flowers when I was trimming the bonnet and although the look is very authentic it is now a little too frilly and floral to go with the dress. Hopefully somebody else will have a dress just waiting for the perfect accessory or maybe it will inspire a new costume for somebody.
If you are interested in this bonnet and other items, please visit my sister blog: http://la-belle-modiste.blogspot.co.uk/
Total cost:
The Challenge:
June - Out-of-your-comfort-zone
July - Accessorise
And technically this also qualifies for March's stash-busting challenge as I was so eager to get started with this project that I deliberately planned to use only materials that I already had to hand without ordering anything new.
Fabric:
The fabric is a synthetic curtaining fabric that has a very nice finish that looks the part without costing the earth. It is a light fabric and nice to handle and sits well.
Pattern:
I used Timely Tresses "Eliza Coretta" pattern to create this bonnet.
Year:
1860-1862
Notions:
Millinery seems to involve a whole host of bits and pieces:
For the structure of the bonnet I used buckram for the headpiece and tip and millinery wire covered in net to form the brim.
The decorations consist of ruffled synthetic white lace; artificial flowers (fabric and plastic); small satin ribbon bows; and gros-grain ribbon ties formed from two pieces of antique ribbon in different shades.
How historically accurate is it?
The shape and style of the bonnet are very accurate for this period. Timely Tresses' patterns are very well-researched and based on extant bonnets. The decoration is also based on my own research into original bonnets and closely follows the tastes and trends of the period and the construction techniques are authentic. With the exception of the bavolet (curtain) hem, the whole bonnet is hand sewn. However, the majority of the materials are modern substitutes. The gros-grain ties are nineteenth-century antique ribbons but the main bonnet fabric and decorations are made of synthetic materials chosen with an eye to achieving as authentic a look as possible with available materials and without breaking the bank!
Hours to complete:
Approximately sixteen hours in total spread over three days.
First worn:
I wore the bonnet briefly to try the overall effect in the mirror but I will be selling the bonnet. When I started out, I had originally intended to wear this bonnet with my 1850s walking dress which is made in the same material. However, I got a little carried away combining lace and flowers when I was trimming the bonnet and although the look is very authentic it is now a little too frilly and floral to go with the dress. Hopefully somebody else will have a dress just waiting for the perfect accessory or maybe it will inspire a new costume for somebody.
If you are interested in this bonnet and other items, please visit my sister blog: http://la-belle-modiste.blogspot.co.uk/
Total cost:
I don't have an exact figure as all of the materials that I used for this bonnet were bought some time ago. However, including the kit with the materials for the frame, the fabric and the decorations, I would estimate something in the region of £40-50 for the materials.
A new venture...
With my studies complete I decided that it was more than time that I got back to sewing but I had so many half-finished and planned projects that initially I didn't know where to start. However, having spent 6 months researching and writing about 19th century bonnets and bonnet ribbons it seemed fitting to choose a project that had been waiting on the back burner for some time.
About two years ago when looking for patterns that I could use to create suitable hats to go with some of my costumes I discovered Timely Tresses. The website is like an Aladdin's cave for the budding milliner and I couldn't resist purchasing some patterns and kits straight away. The only difficulty was choosing which styles to begin with. In the end I picked three, two for me and one for my Mum and waited eagerly for them to arrive from the US.
However, as is always the case with these things, life got in the way and the bonnet kits sat patiently in the bottom of my wardrobe waiting to be made.But then as I was researching my dissertation and coming into daily contact with original bonnets I could feel my fingers itching to get started on one of my own. So the first thing I did once my 15,000 words on bonnet ribbon styles were submitted was to pick my first pattern.
I decided on the Eliza Coretta which is an early 1860s style with a moderately high brim.
As I had never attempted any millinery before this was a completely new venture but I was delighted with the end results.
See my next post for more details about this bonnet.
About two years ago when looking for patterns that I could use to create suitable hats to go with some of my costumes I discovered Timely Tresses. The website is like an Aladdin's cave for the budding milliner and I couldn't resist purchasing some patterns and kits straight away. The only difficulty was choosing which styles to begin with. In the end I picked three, two for me and one for my Mum and waited eagerly for them to arrive from the US.
However, as is always the case with these things, life got in the way and the bonnet kits sat patiently in the bottom of my wardrobe waiting to be made.But then as I was researching my dissertation and coming into daily contact with original bonnets I could feel my fingers itching to get started on one of my own. So the first thing I did once my 15,000 words on bonnet ribbon styles were submitted was to pick my first pattern.
I decided on the Eliza Coretta which is an early 1860s style with a moderately high brim.
![]() |
| The Eliza Coretta pattern from http://www.timelytresses.com/ |
See my next post for more details about this bonnet.
Subscribe to:
Posts (Atom)